
The drawers on the piece worked poorly, and I knew it would be the perfect candidate to turn into a kitchen island. With all the delicate detail, I wanted to honor its age and character by refinishing it in the style of an antique, well worn and well loved Swedish country piece, one that you might find buried under galvanized water cans and vintage linens at some teensy rural European flea market.
To start I need to repair some veneer issues on the sides, and swap out the small underwhelming hardware for antique salvaged walnut pulls that date to just about the same time as the dresser. Next I needed the perfect paint and color to create that carelessly elegant surface. I used the Americana Decor Chalky Finish Paint, mixing one part Serene, one part Timeless, and two parts Vintage to create a soft blue that leans towards gray with just a hint of aqua for extra depth.
I sanded the piece lightly to prep for paint but left much of the old texture to replicate the body and structure one sees after a piece acquires layer after layer of paint over a hundred or so years. The paint went on very well, thick and robust, and coated nicely. The color was precisely what I wanted and I was incredibly delighted with the effect. I applied the lightest dry brushing of a deeper blue to the handles and shell carving, lightly distressed the piece with 80 grit sandpaper, and sanded it fully with 220 grit paper for a smooth finish. Finally, I sealed the whole thing with dark wax.
Once the painted surfaces were done I moved on to the shelves and top. I used dried and seasoned rough sawn 1" thick pine in both 8" and 6" widths. I cut the top to size, glued and screwed it in place, filled the holes with wood putty, and then sanded the entire thing, beveling the edges for a soft rounded look. After sanding I stained it with a custom mixed stain in a medium tone to bring out the luster of the pine and compliment the paint. I did the same prep work for the shelves, but left them outside the case. I applied six consecutive coats of high gloss oil based polyurethane, sanding with 220 grit sandpaper between each coat until the top and shelves were glossy smooth, then fixed the shelves in place with wood glue, and a finish nail gun.
So first, here's the before and after on the piece!

 |
| My inspiration piece, from one of my favorite blogs, Cote De Texas |
 |
| About to start painting- with my line up of Americana Decor Chalky Finish Paint! |
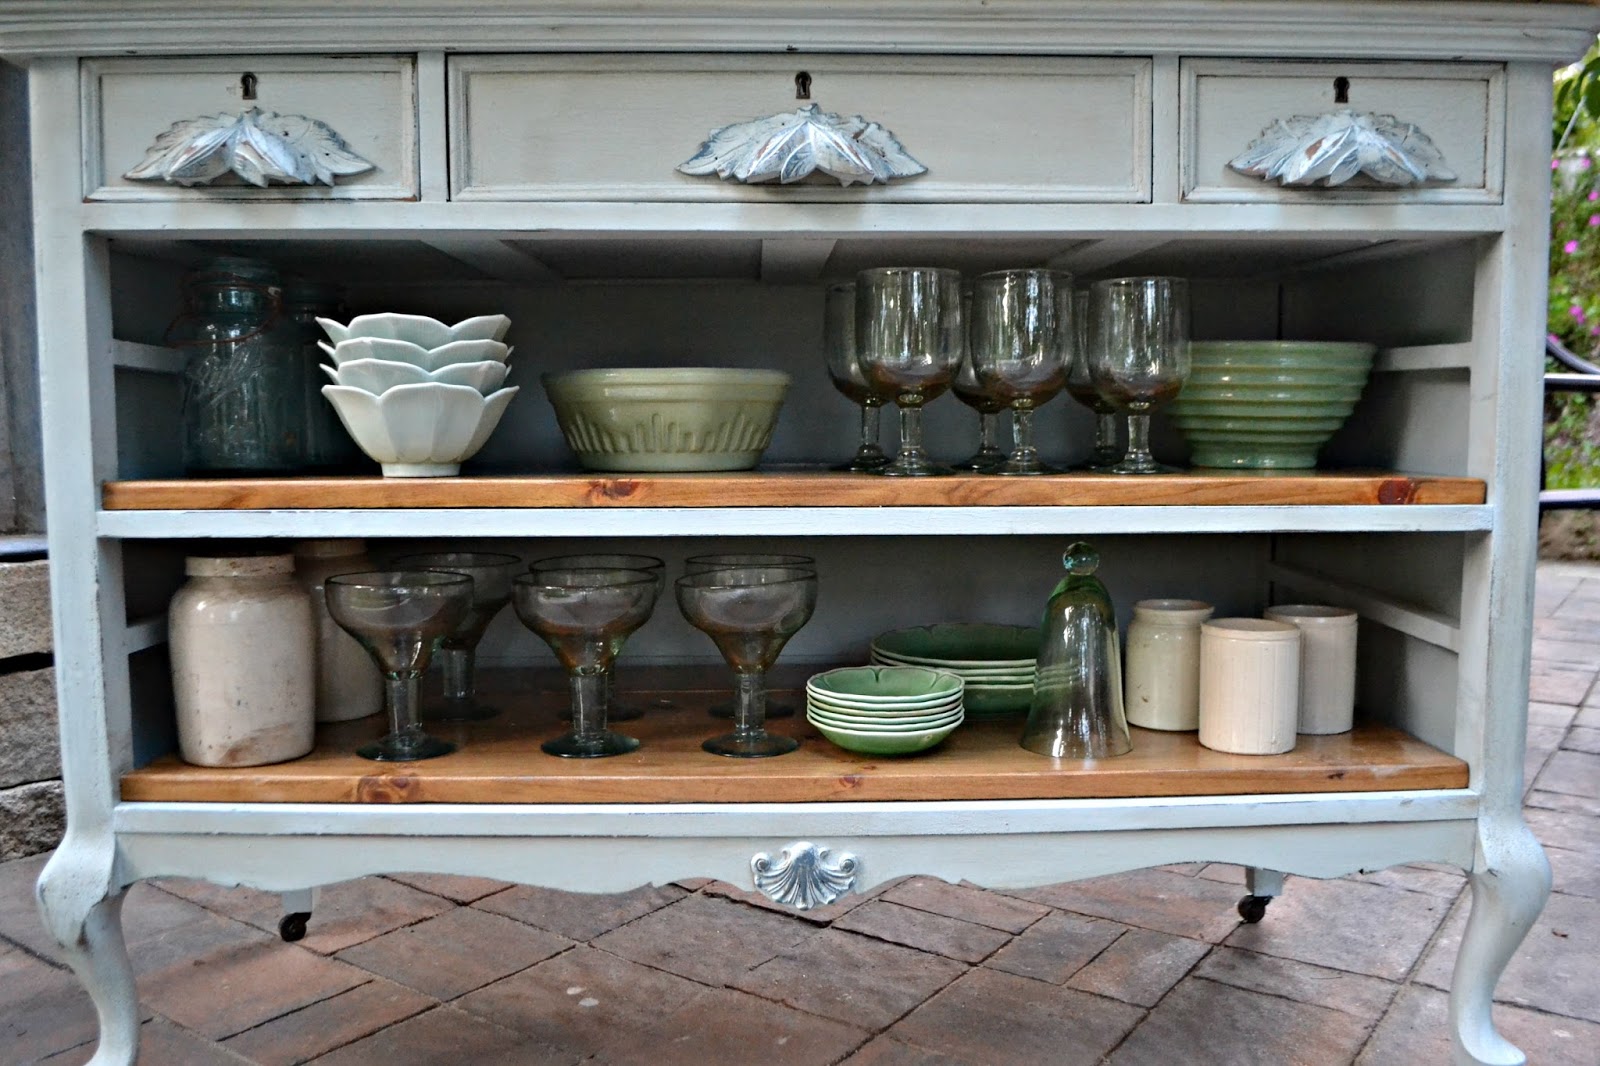
And here's the result!


 |
Look at the wonderful craquelure surface I was able to get! Speaking as a training antiques dealer, I can say, this really does look like an antique paint surface! |


Gorgeous! What type of wood did you put on top and how is it attached?
ReplyDeleteLove it. So would my mom in heaven.
ReplyDeleteBeautiful
ReplyDelete